The maximum brightness level provided by the timer can be set to suit customer requirements.
Note that when lamps are near to full brightness, it is difficult to see changes in dimming level. Therefore, when setting up maximum brightness, it is recommended that the lamp is slowly dimmed up to a point where no further changes in brightness can be seen, and the maximum level set at this point.
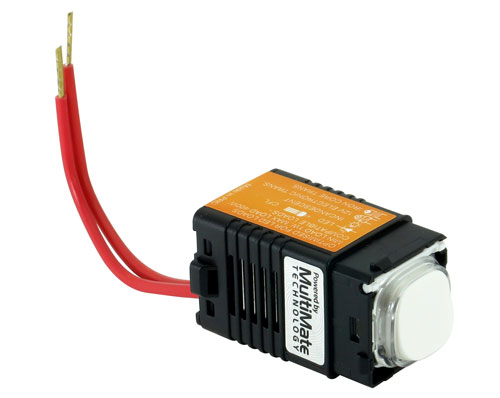
Step 1
Enter into the timer Setup Mode – See PART A
Step 2
Click the push button three times
Step 3
Push the button to achieve the required maximum brightness level
Note: To cancel/exit do nothing for 30 seconds
Note: If more than one dimmer is connected to the same load, all dimmers connected to this load will now blink 3 times
Step 4
Adjust dial to required maximum brightness level
Note: To cancel/exit do nothing for 30 seconds
Step 5
Click once to save & exit
In the unlikely event that other LEDsmart+ devices connected in parallel do not enter setup, exit and try again.